
Login and Logout using JSP, Servlet, and MySQL-(Part 2)
In today’s post, we will learn a complete login and logout system using JSP & Servlet. In this post, we will design our Login Page and Welcome Page, then we will code for the backend or server side. And this post will continue from the previous Login and Registration using JSP, Servlet, and MySQL tutorial. Before doing this, please follow the previous tutorial.
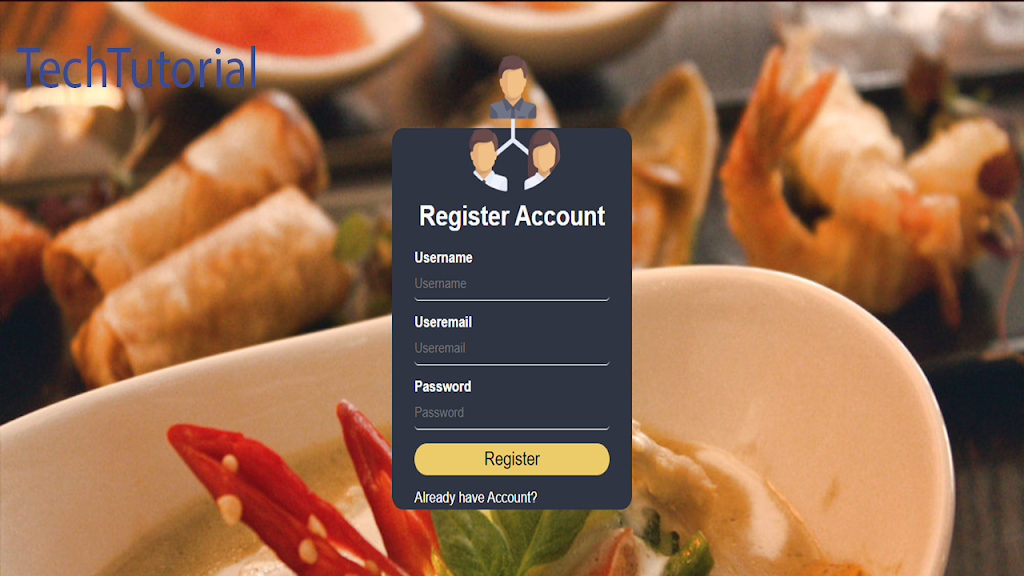
*For the Prerequisite and Step-1 tutorial, please follow Login and Registration using JSP, Servlet, and MySQL in this post.
Watch the video tutorial from YouTube Channel.
*** Check the first part of this project video tutorial on YouTube: Login and Registration using JSP and Servlet
Step 2: Designing Login form
In this part, we will design our Login form in the index.jsp page, then copy the below code and paste. And we don’t need to write CSS code for designing this page. Because this page and registration page design is the same, we don’t need to write extra code.
<%@page contentType="text/html" pageEncoding="UTF-8"%>
<!DOCTYPE html>
<html>
<head>
<meta http-equiv="Content-Type" content="text/html; charset=UTF-8">
<title>Join Us</title>
<link href="https://fonts.googleapis.com/css?family=ZCOOL+XiaoWei"
	rel="stylesheet">
<link href="css/style.css" rel="stylesheet" type="text/css" />
</head>
<body>
	<div class="container">
		<div class="box">
			<img class="avatar" src="img/user-avatar.png">
			<h1>Login Account</h1>
			<form action="LoginServlet" method="post">
				<p>Username</p>
				<input type="text" placeholder="Username" name="email" required>
				<p>Password</p>
				<input type="password" placeholder="Password" name="password"
					required> <input type="submit" value="Login"> <a
					href="#">Forget Password?</a><br> <a href="registration.jsp">Create
					New Account</a>
			</form>
		</div>
	</div>
</body>
</html>
Step3: Working on the server-side
In the previous, we created all the required java classes. Now open your UserDatabase.java class file and paste the below code before/after the register method. Let’s explain the method login, there is a user method. And we will pass two parameters, one is user inputted email and password. And using these two values, we will search for the user from the database. If the user is available, we will log in to the user else to show the error.
    //user login
    public User login(String email, String pass){
        User usr=null;
        try{
            String query ="select * from user where email=? and password=?";
            PreparedStatement pst = this.con.prepareStatement(query);
            pst.setString(1, email);
            pst.setString(2, pass);

            ResultSet rs = pst.executeQuery();

            if(rs.next()){
                usr = new User();
                usr.setId(rs.getInt("id"));
                usr.setName(rs.getString("name"));
                usr.setEmail(rs.getString("email"));
                usr.setPassword(rs.getString("password"));

            }

        }catch(Exception e){
            e.printStackTrace();
        }
        return usr;
    }
Step 4: Creating Login Servlet
Create a servlet, name is LoginServlet. We mention it in our index.jsp page form action.
On the servlet, creation time, don’t forget to deploy it in web.xml file. Copies the below code and paste it into the body section.
            String logemail = request.getParameter("email");
            String logpass = request.getParameter("password");

            UserDatabase db =  new UserDatabase(ConnectionPro.getConnection());
            User user = db.logUser(logemail, logpass);

            if(user!=null){
                HttpSession session = request.getSession();
                session.setAttribute("logUser", user);
                response.sendRedirect("welcome.jsp");
            }else{
                out.println("user not found");
            }
Step 5: Create a protected welcome page
Now create a simple welcome.jsp page to redirect the successful login user. And on this page, we will show the user data, using the session object we passed in LoginServlet. Copies the below code and paste the JSP file.
<%@page import="newpackage.User"%>
<%@page contentType="text/html" pageEncoding="UTF-8"%>
<%
User user = (User) session.getAttribute("logUser");
if (user == null) {
	response.sendRedirect("index.jsp");
}
%>
<!DOCTYPE html>
<html>
<head>
<meta http-equiv="Content-Type" content="text/html; charset=UTF-8">
<title>JSP Page</title>
</head>
<body>
	<h1>
		Welcome,
		<%=user.getName()%></h1>
	<h3>
		Your Account ID:
		<%=user.getId()%>
	</h3>
	<h3>
		Your Email:
		<%=user.getEmail()%>
	</h3>
	<h3>
		Your Password:
		<%=user.getPassword()%></h3>
	<button>
		<a href="LogoutServlet">Log Out</a>
	</button>
</body>
</html>
Step 6: Implement logout functionality
This is the end part of this project, which is the Logout function. This is the easiest step. Just remove the session and send the user to the Index page or Login page.
Create a LogoutServlet.java class. Expand your Source Packages folder right-click your package>new>java servlet> name it on the servlet, creation time don’t forget to deploy it in web.xml file. On the servlet, creation time, don’t forget to deploy it in web.xml file. Then copies the below code and pastes it into your LogoutServlet.java file.
HttpSession session = request.getSession();
session.removeAttribute("logUser");
response.sendRedirect("index.jsp");
That was all for this project. I hope you follow all the steps properly and it’s working. If you have any questions please feel to comment. Also, like this post and share it with your friends.

Hi.. I'm a beginner in JAVA and I have a project about " video lending System". I did most of the part. But I don't know how an admin upload videos to his website and user download it. And admin update videos using database.. Due to lockdown I don't have anyone to help me with the project. My due date for project is 25th.. Can you make a blog or a youtube video or send me any sample code about this please.. It will be a very much help for me.
thankyou.
Hi dear may be you are asking about file upload and download. I already published that two video on my YouTube channel. File Download: https://youtu.be/zZJl8jZXDPQ and File Download: https://youtu.be/HsDPG6UaUtg
hello, I am done trying this coding…. all fine expect in welcome.jsp, when i clicked the logout button, there's nothing happened…., can you help me with that ?
check your redirect url.